
Plan a Bob Haircut Inspiration Board with Seedream 5.5
Use Seedream 5.5 to plan a bob haircut inspiration board from one portrait, keeping hairstyle changes distinct from shifts in lighting and camera angle.
What's new on this page
- — Page published.
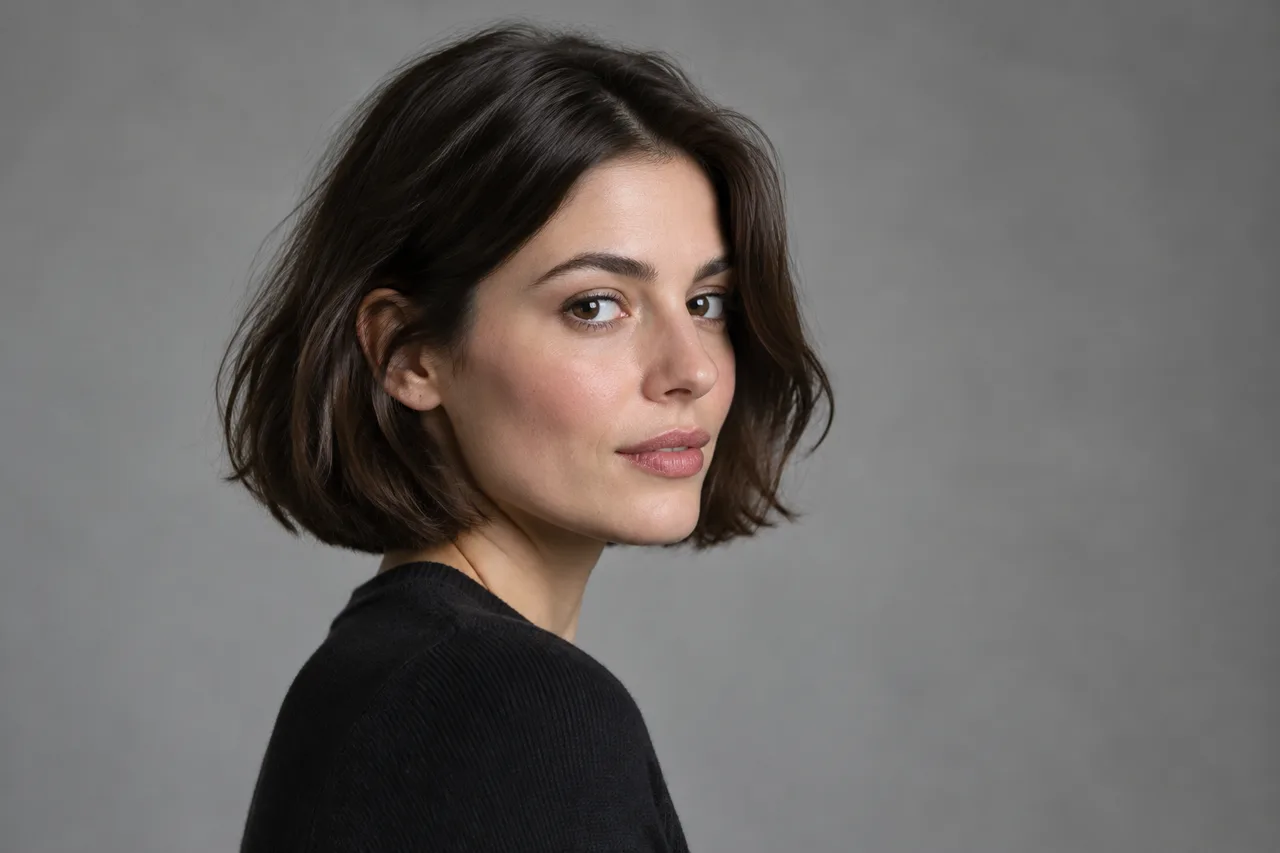
A useful haircut inspiration board makes the hair the variable—not the lighting, pose, or camera. When you work from one portrait with Seedream 5.5, define what should change, specify what should stay consistent, and review each image for clues that a result differs for reasons beyond the haircut.
The goal is not to treat a generated image as a prediction of how a cut will look on you. It is to organize visual references and communicate preferences, such as length, outline, fringe, and texture, before discussing them with a stylist.
1. Choose a clear starting portrait
Pick a portrait where the face and existing hair are visible, with the head held at a natural angle. A straight-on image can make it easier to compare left and right sides; a slight turn may help show how hair sits around the jaw. Avoid starting with a strongly tilted head, dramatic shadows, or hair that covers the areas you want to evaluate.
Use an image you have the right to use, and consider whether it contains sensitive details before uploading it to any image tool. Keep a copy of the original so you can compare it with the results.
2. Decide what belongs on the board
Before generating variations, write down the haircut features you want to explore. A bob is not one fixed shape. Your board might compare:
- Jaw-length and chin-length outlines
- A blunt perimeter versus softly textured ends
- A side part versus a center part
- No fringe versus curtain or straight fringe
- Smooth styling versus natural-looking movement
Choose a small set of differences at a time. If one image changes length, part, fringe, texture, pose, and lighting all at once, it becomes difficult to tell which choice you prefer.
3. Set the comparison rules
For a fair visual comparison, tell Seedream 5.5 which parts of the portrait should remain consistent. Keep the same person, facial features, expression, clothing, background, head position, crop, and camera viewpoint. Ask for the same soft, even lighting in every variation. Then describe the haircut change in concrete terms.
A reusable prompt:
Use the supplied portrait as the identity and composition reference. Create an inspiration-board image showing a [length] bob with a [perimeter shape] outline, a [parting] part, and [fringe description]. Keep the same person, facial features, expression, clothing, background, crop, head position, camera viewpoint, and soft, even lighting. Change the hairstyle only. Make the hair shape clearly visible around the cheeks, jaw, and neck. Do not change the face, pose, camera angle, or light direction. This is a hairstyle concept for discussion, not a prediction of a real haircut.
Replace the bracketed details for each option. For instance, compare a chin-length blunt bob with a jaw-length softly textured bob, while keeping the other prompt instructions identical. Save each prompt alongside its image; that makes the board easier to interpret later.
4. Review the silhouette before the styling
Look first at the outer contour of the hair. Ask: Where does the longest point fall? Does the bottom edge look blunt, rounded, or broken up? Is there visible weight at the sides? Does the outline end near the chin, jaw, or neck? These observations describe the cut more reliably than adjectives such as “chic” or “soft.”
Next, inspect the details that affect the silhouette: the part, fringe, and volume near the crown or sides. Keep styling notes separate. For example, “smooth finish” describes presentation, while “ends hit at the jaw” describes length. This distinction helps you communicate which elements are essential and which are optional.
5. Diagnose apparent changes in light or angle
A darker side of the hair can look fuller, while a bright edge may make the outline seem thinner. A turned head can also make one side appear shorter than the other. Before deciding that a bob variation has a different shape, compare the face angle, visible ear, jawline, shadow direction, and background. If those cues shift, the apparent haircut change may not be a reliable comparison.
Example diagnostic correction: You request a jaw-length bob, but the result looks longer on one side and the face appears more turned. Do not immediately conclude that the cut is asymmetrical. Revise the prompt with a focused correction: “Keep the head straight and the camera viewpoint unchanged. Match the original portrait’s face angle and crop. Use even lighting from the same direction. Keep the bob jaw-length on both sides, with a level perimeter.” Then review the new image against the original and the other board options.
If the angle or lighting still changes, label that image as a separate styling or mood reference instead of using it to judge length. Avoid asking for many corrections at once; a short, targeted instruction makes it clearer what you are trying to control.
6. Make the board useful for a consultation
Arrange images by the feature being compared, such as length or perimeter, and add brief captions: “chin-length, blunt, center part” or “jaw-length, textured, side part.” Mark favorites and uncertainties separately. You can note what you like about one image without committing to the entire look: “Prefer this outline; keep my current part.”
For another way to explore short-hair looks, see the AI short hair filter. Bring your board to a stylist as a conversation aid, and ask what may need adapting to your hair, styling routine, and preferences. The clearest board is not necessarily the most polished one; it is the one where the haircut differences are easy to see and the image conditions are consistent enough to compare.